Please follow the link in the email to activate your account
Your renderings in the Roomtodo rooms planner can become even better and more attractive if you use these simple tips:
panorama not only adds a background outside the window but also affects the type of lighting in your render. This significantly enhances realism and creates the right atmosphere./p>
Here’s an example of a render without a panorama outside the window. It looks okay, but something feels missing.
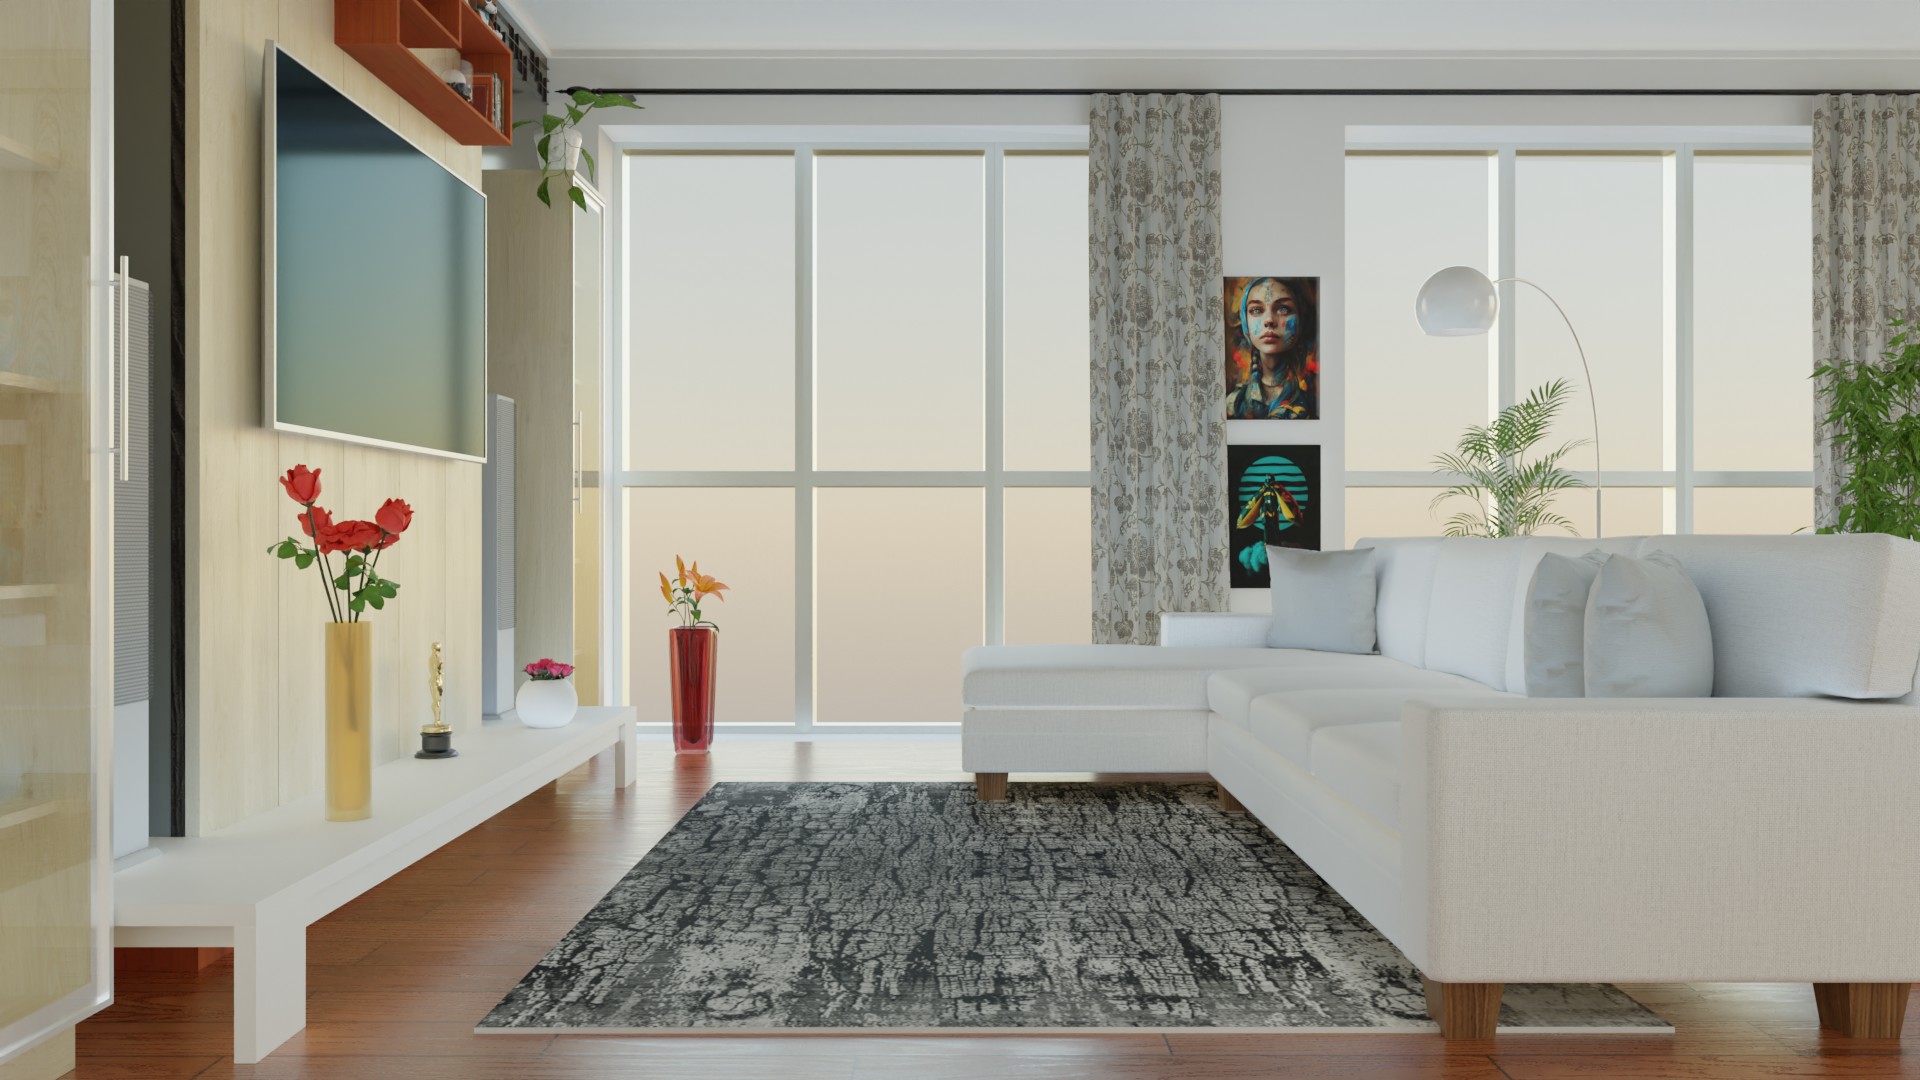
Let’s turn on the panorama outside the window — now the room design looks more attractive and overall more harmonious.
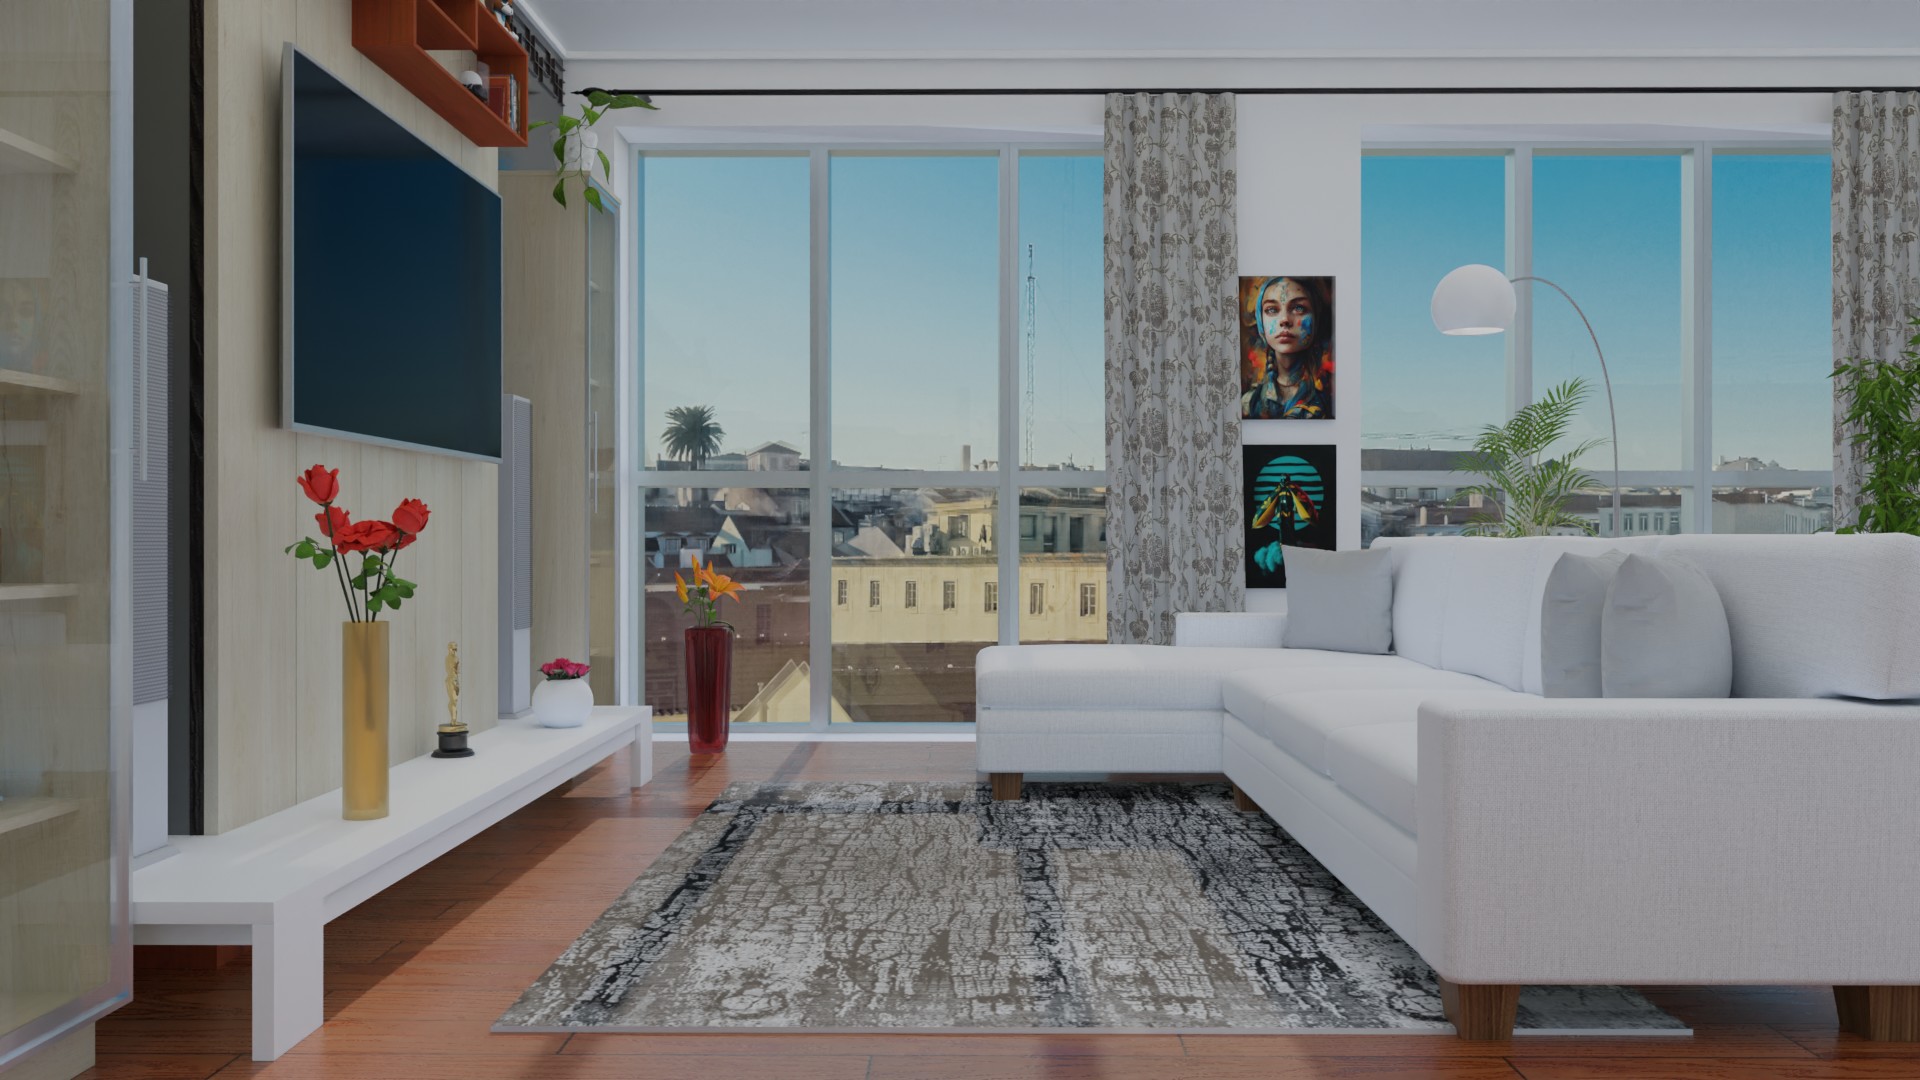
Let’s try adding an evening panorama — and we get a completely different atmosphere in the room. Notice how much the panorama and lighting affect the overall perception of the render and interior design?
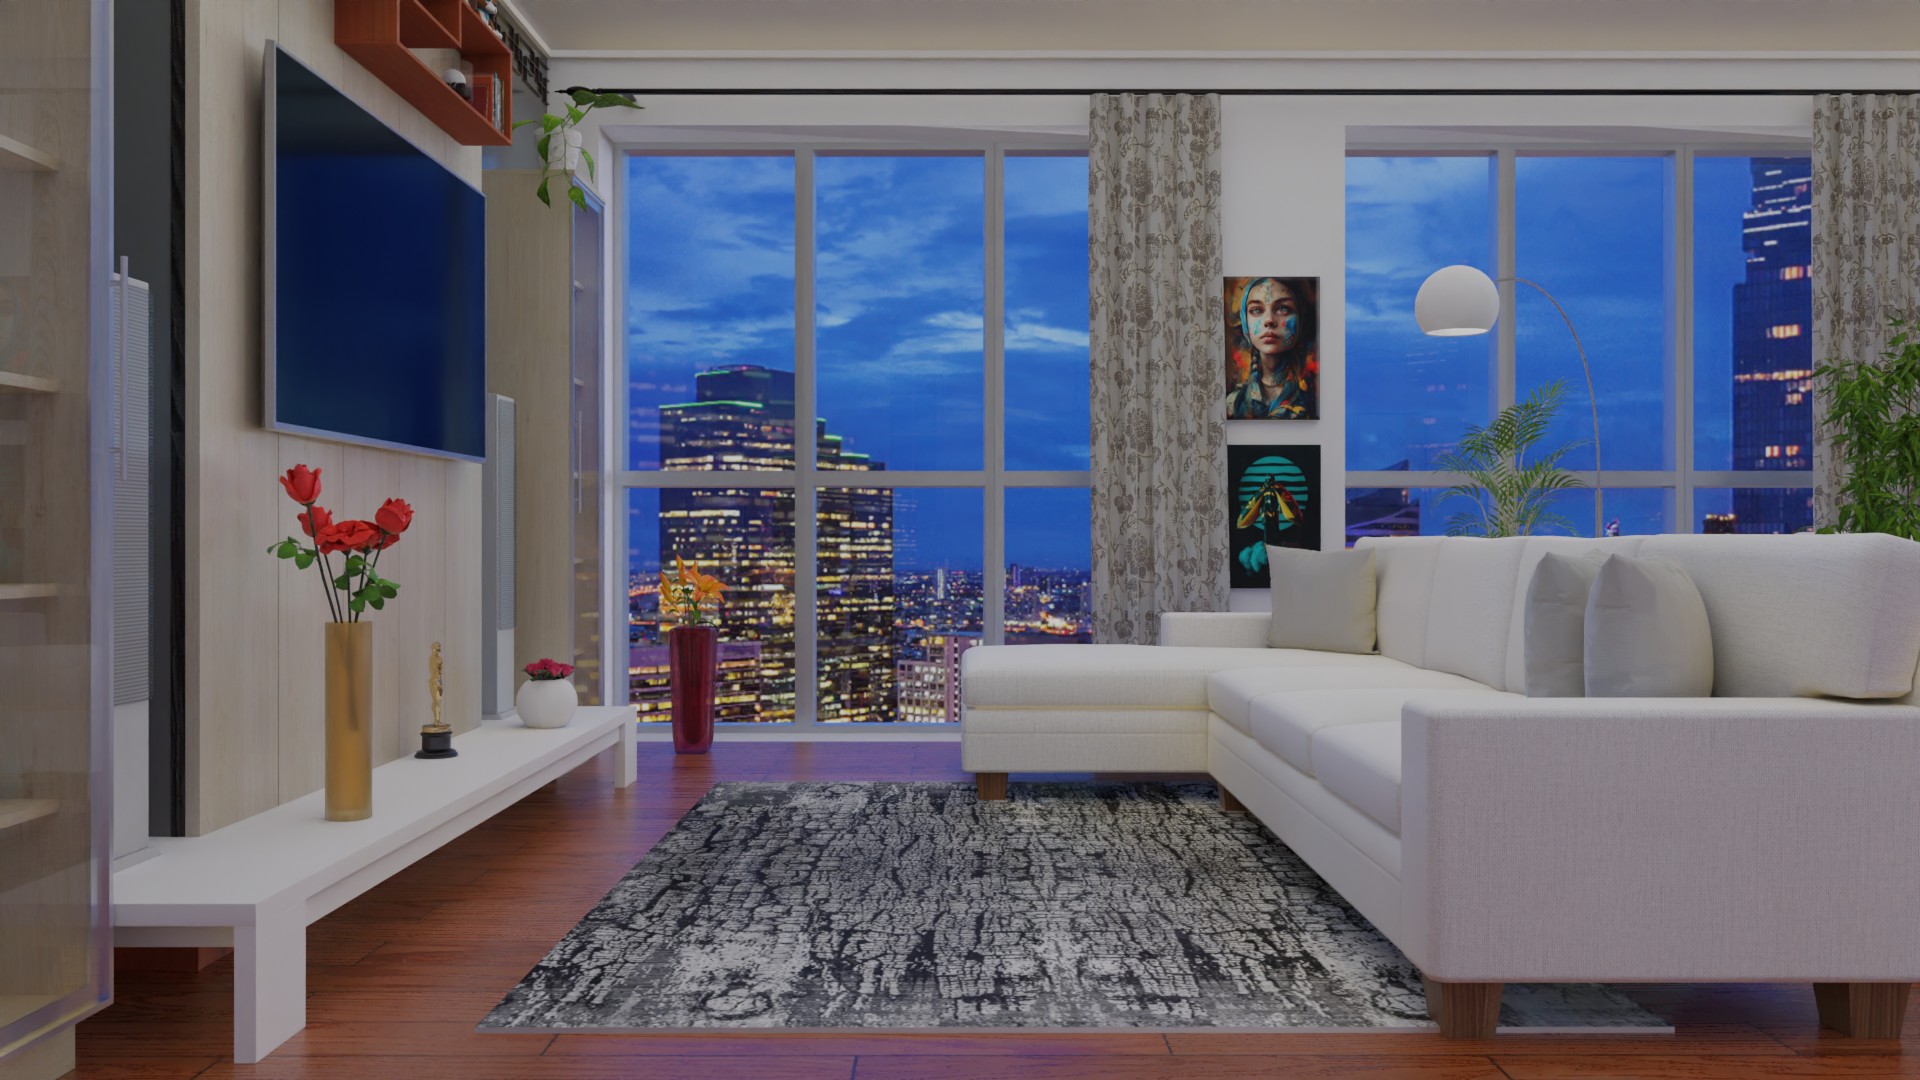
Standard lighting (without a panorama outside the window) works well for windowless rooms, such as bathrooms. But in rooms with windows, it doesn’t look very attractive.
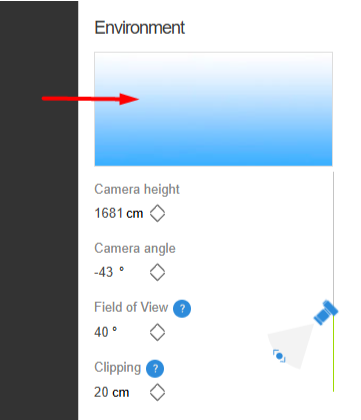
You can choose a panorama here:
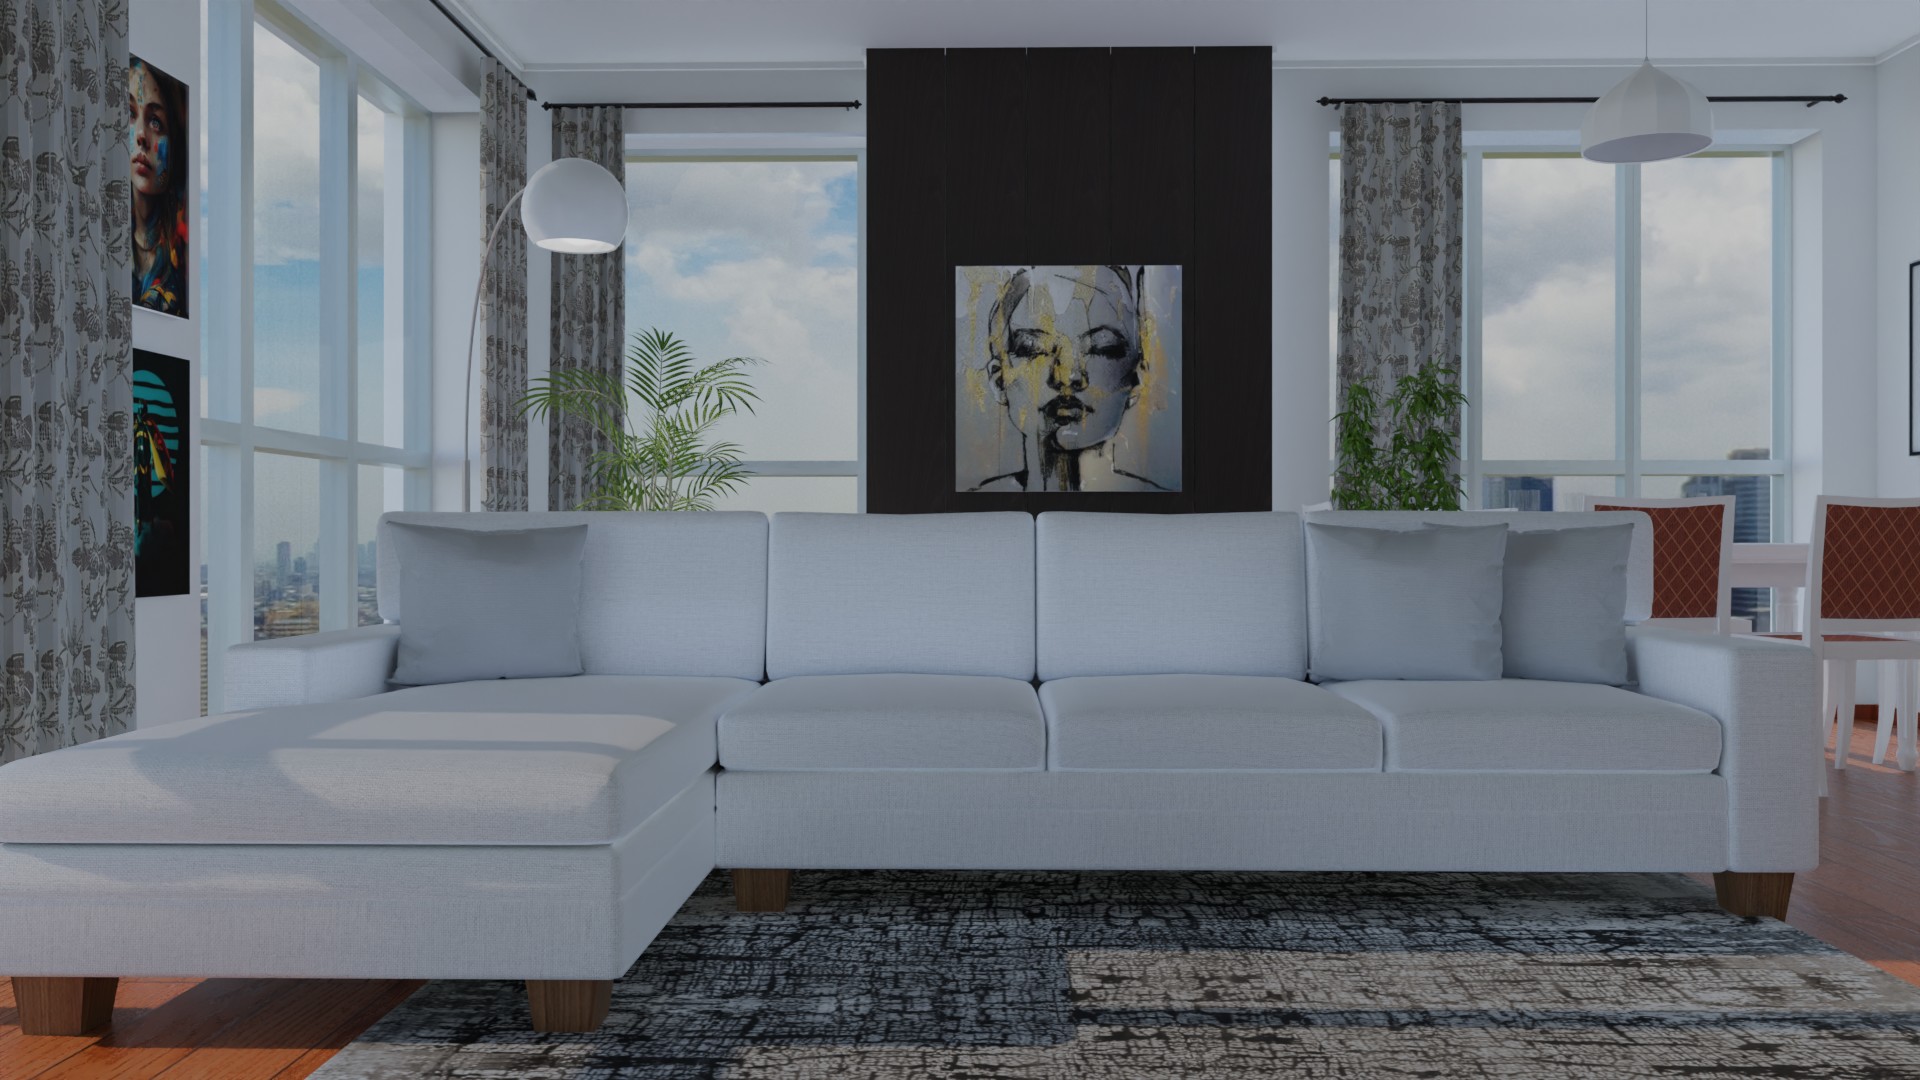
Diagonal lines at an angle look untidy. Straight horizontal and vertical lines make your render look more professional.
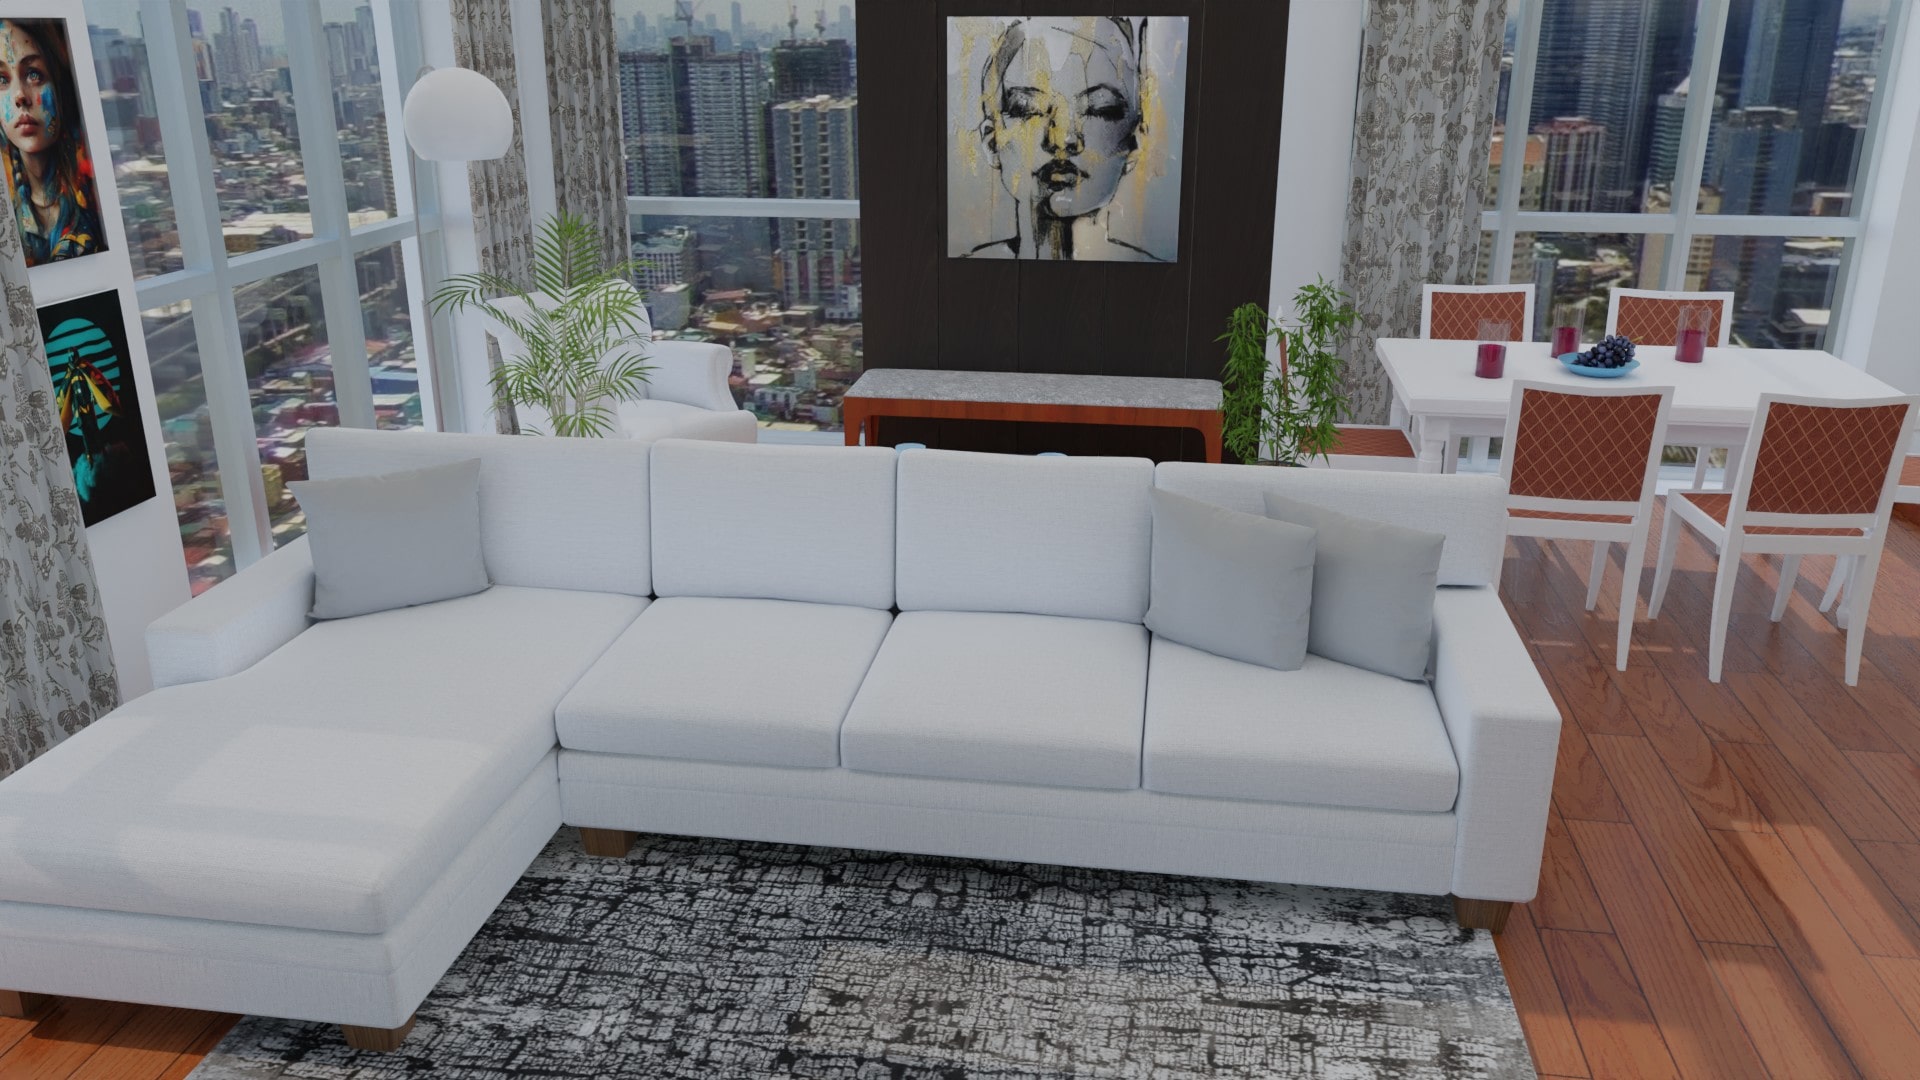
Here’s an example of a render with poorly positioned camera angles:
And here’s the improved version with properly positioned angles::
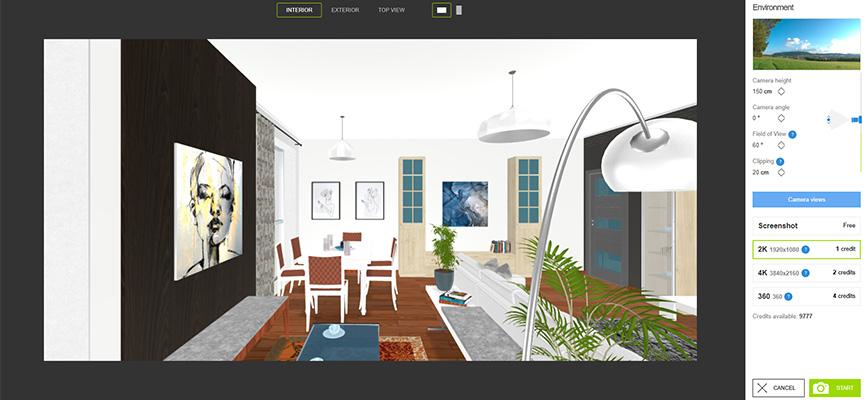
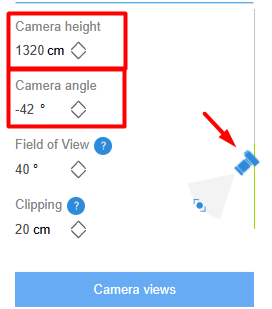
To set up the camera correctly, use the settings for camera angle and height.
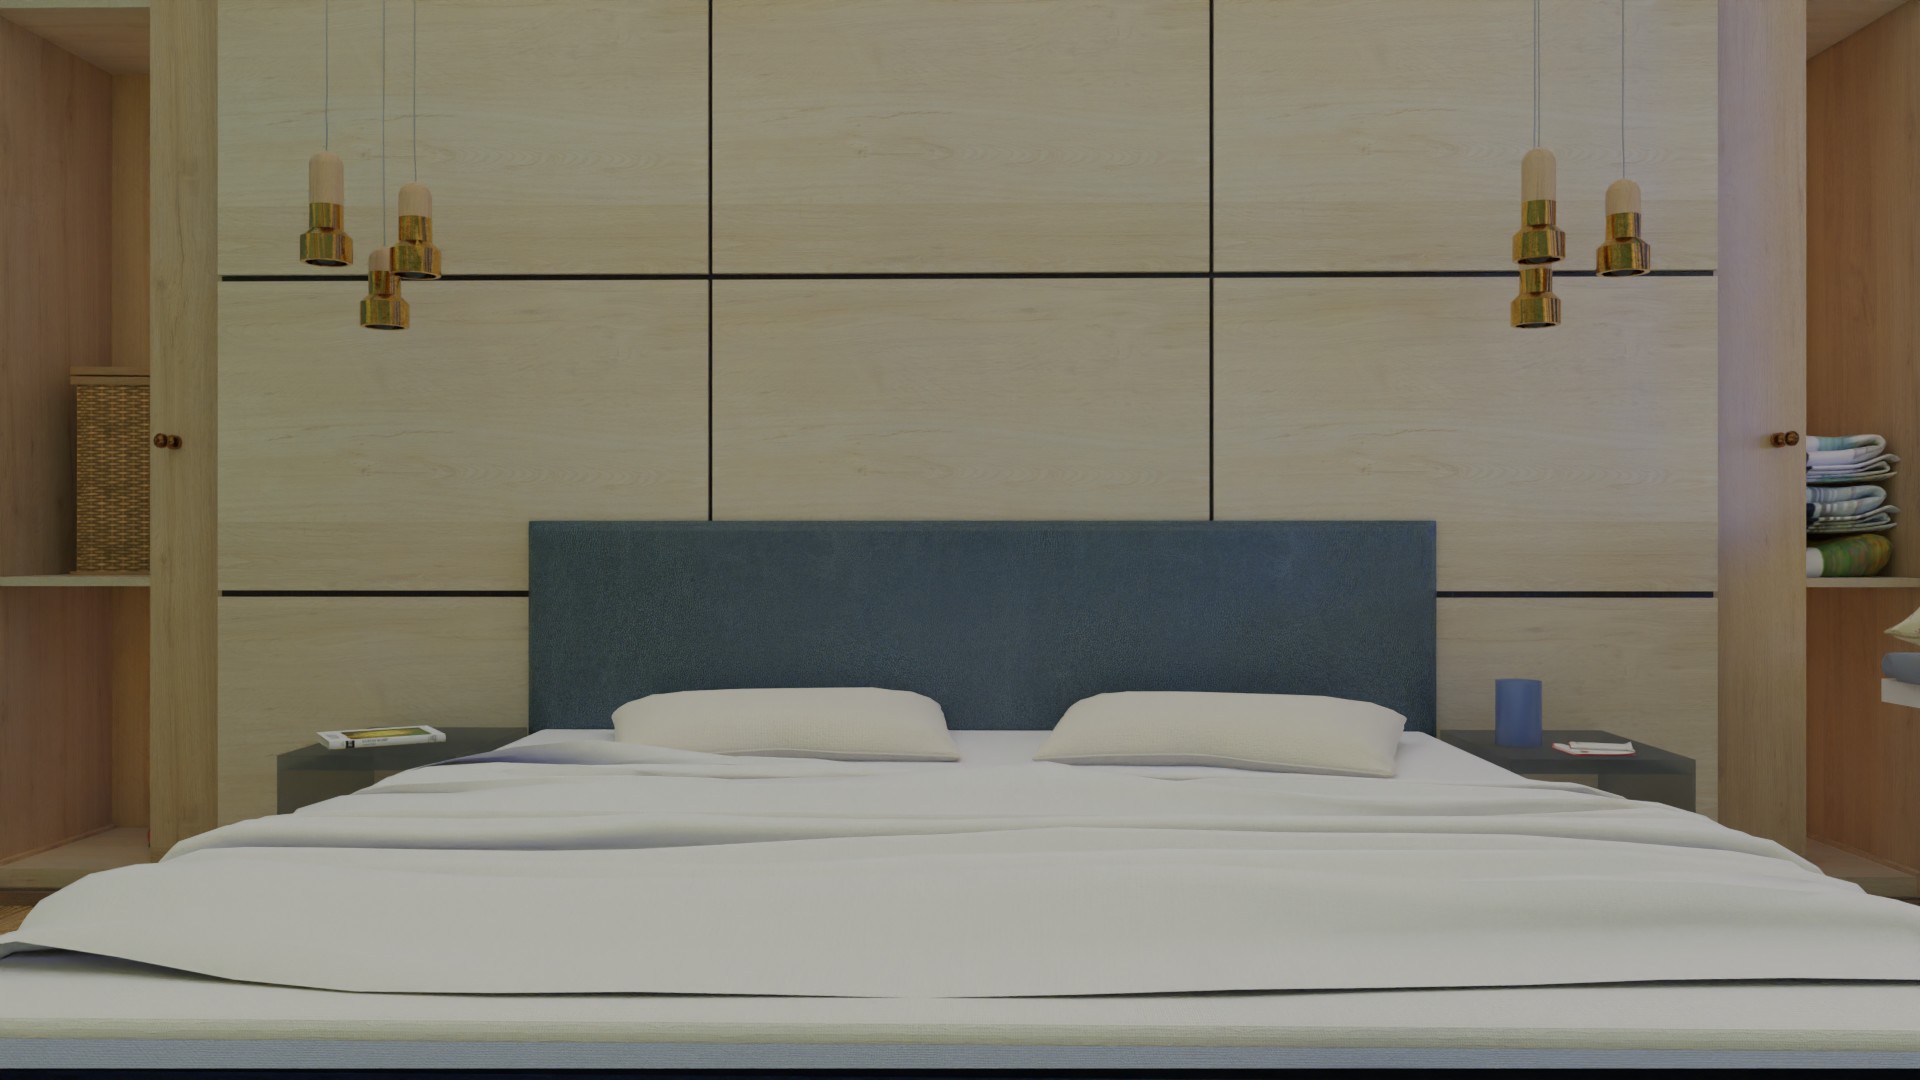
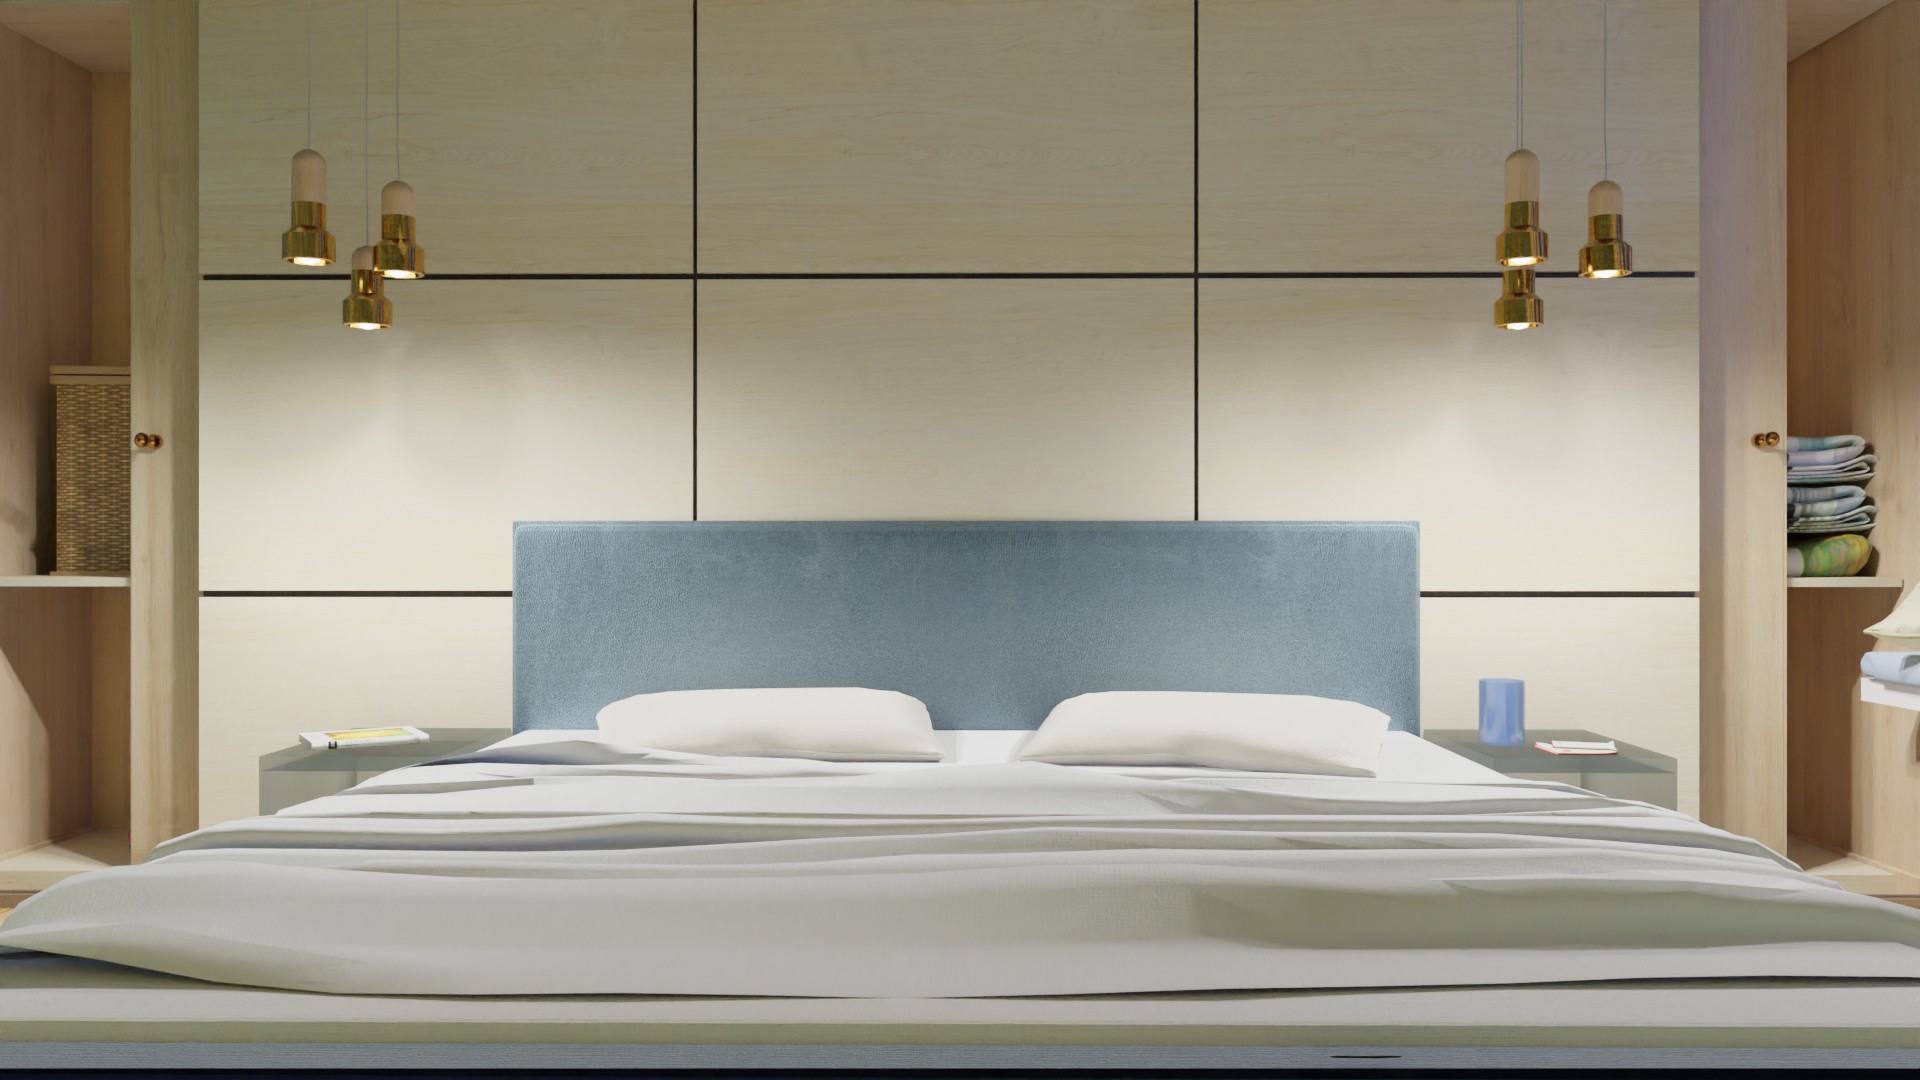
Properly selected lighting adds style and ambiance to the interior. This is especially important in rooms with insufficient natural light.
Here’s an example of a bedroom render with the lights turned off:
And here’s the same interior with the lights turned on. Doesn’t it feel cozier this way?
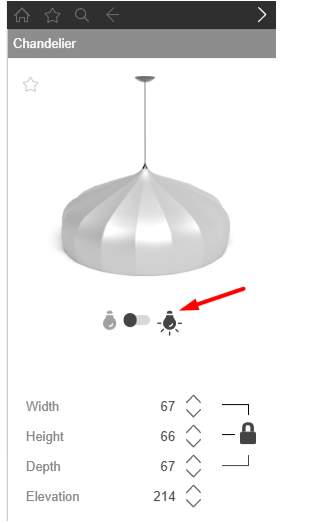
You can turn on the lights in the lamp settings panel.
Avoid turning on too many lights at once, as this may slow down the program.
Unnecessary objects in the foreground distract attention and make it harder to perceive the interior.
Here’s an example of a render where a lamp base is blocking part of the image:
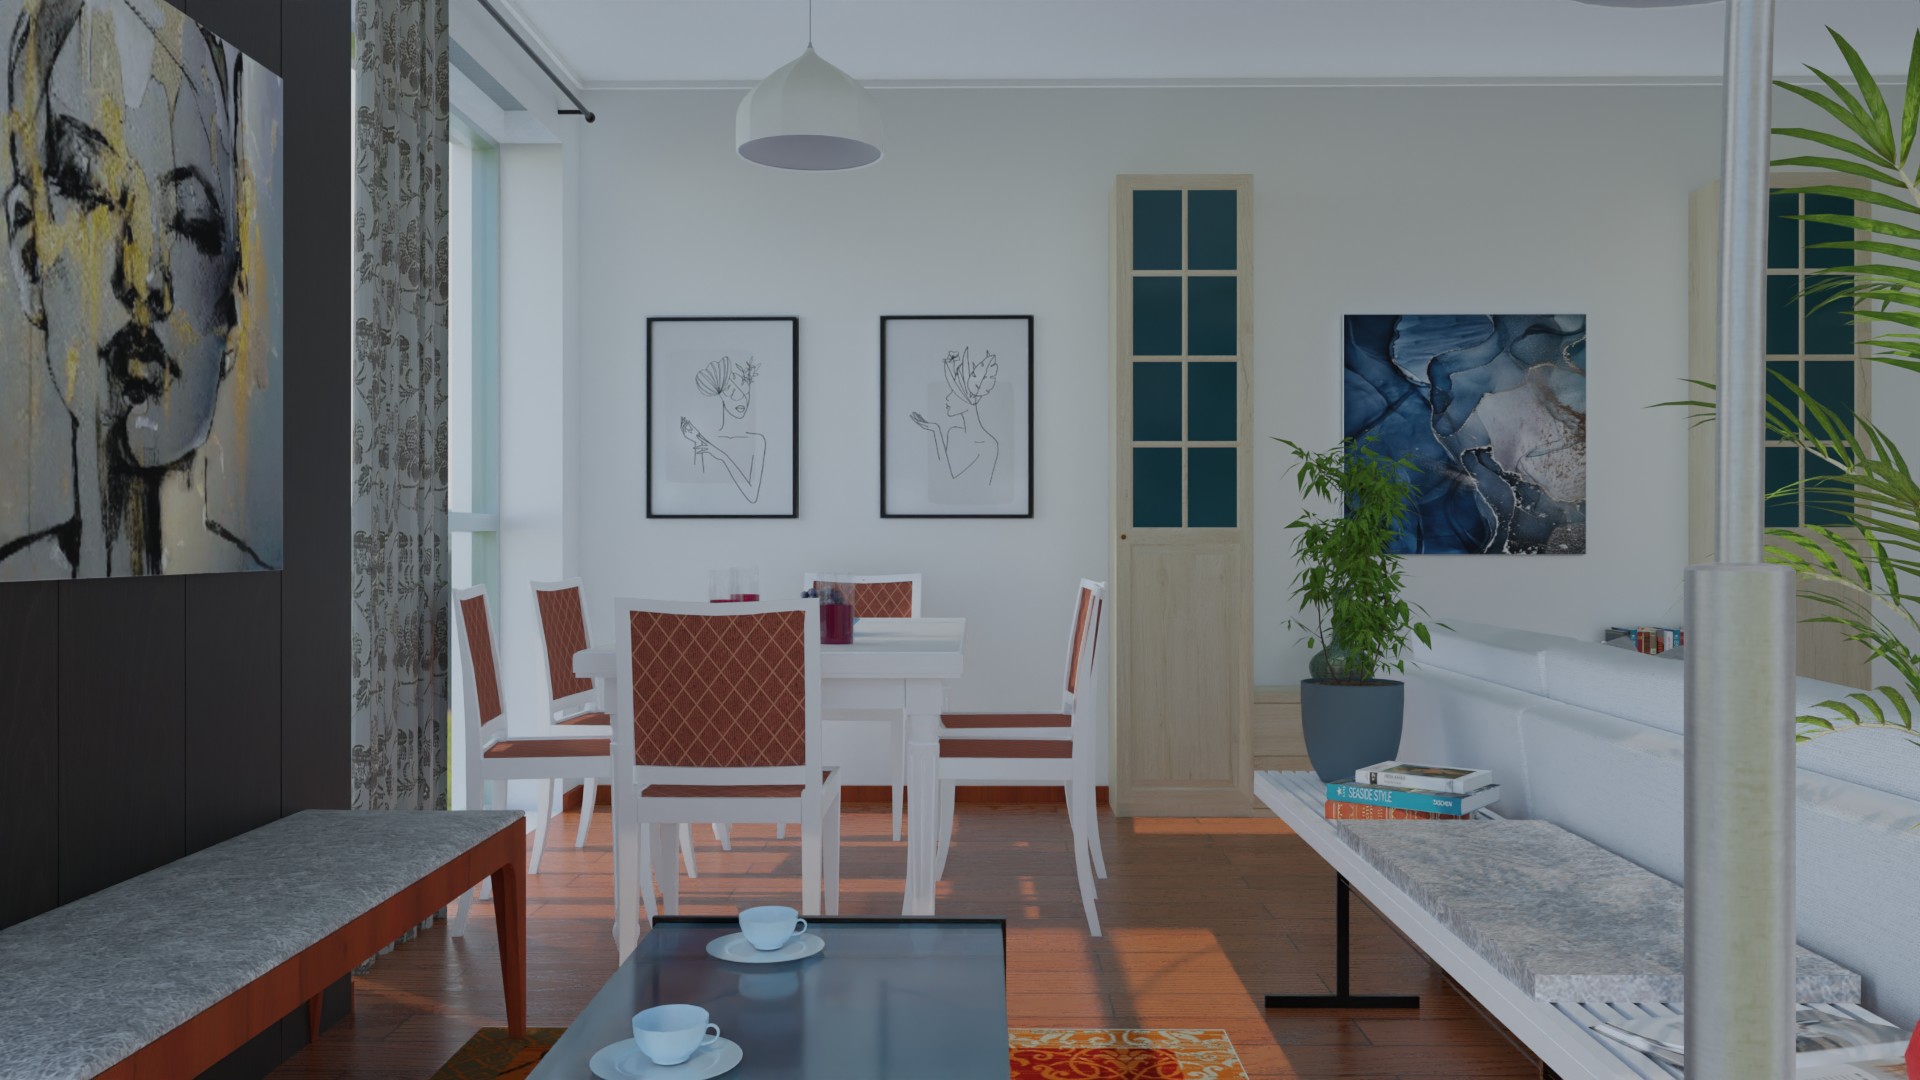
And here’s the same render with the lamp base hidden. Now the interior looks much cleaner and more organized.
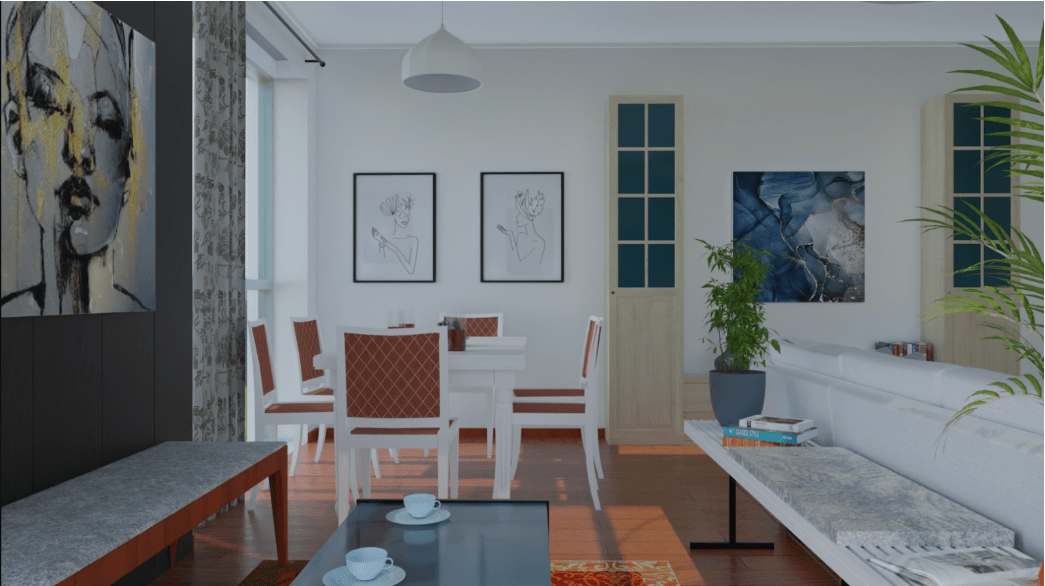
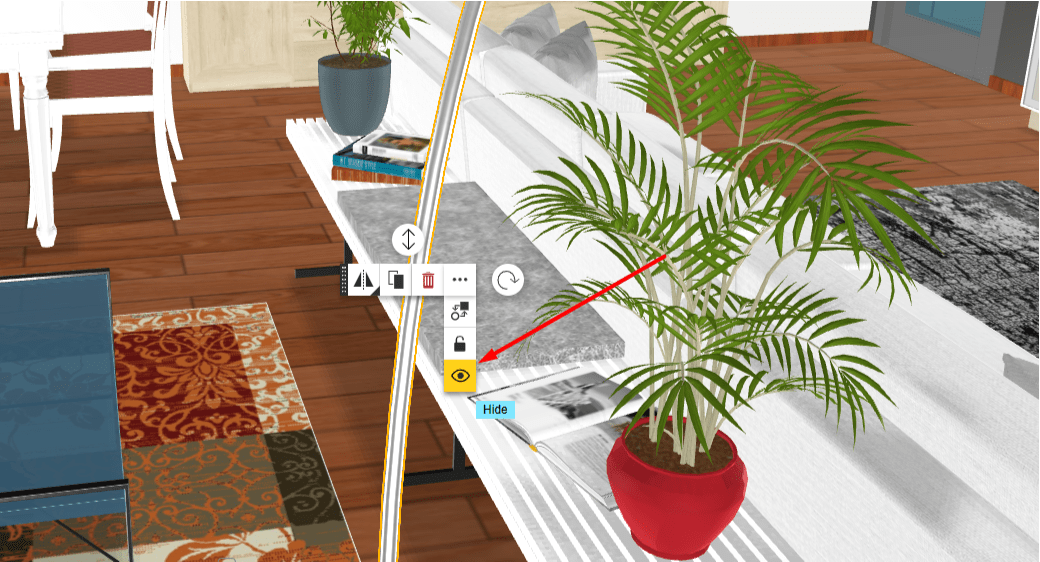
You can hide an object in two ways:
1) In the project, click on the item and select the "Hide" function.
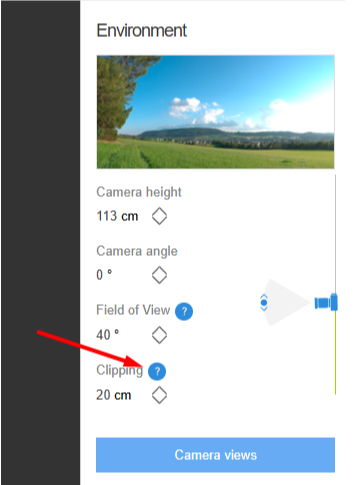
2) Use the Clipping function in the render settings.
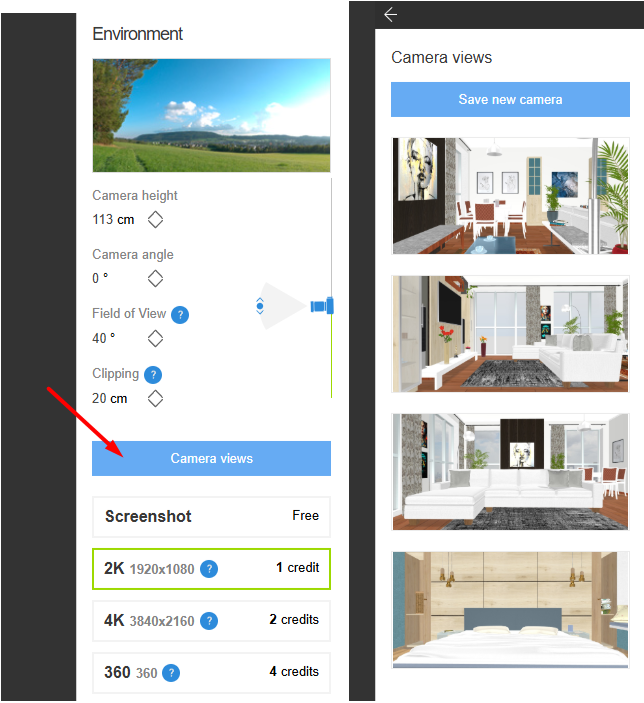
You can save the camera position and settings to avoid adjusting them every time. This will save you a lot of time.
We hope these tips were helpful. Try them in your projects — and your renders will look even more attractive!
