Creating a room layout is the most critical phase of interior design. It is the architectural "skeleton" upon which all your aesthetic choices—colors, textures, and decor—will hang. A well-planned layout ensures that your room is not just beautiful, but functional, comfortable, and balanced.
Whether you are starting with a completely empty space or rearranging an existing room, follow this step-by-step guide to create a professional-grade layout.
Step 1: Accurate Measurement (The Foundation)
You cannot create a successful layout without precise data. Even a discrepancy of a few centimeters can prevent a cabinet from fitting or block a door from opening.
- Measure the Perimeter: Start by measuring the length of every wall.
- Locate Openings: Mark the exact position and width of all doors and windows. Don't forget to measure the height of window sills.
- Identify Fixed Elements: Note the location of radiators, electrical outlets, light switches, and any architectural features like fireplaces or niches.
Step 2: Define the Room’s Primary Function
Before placing furniture, ask yourself: What is the main activity in this room?
- Living Rooms: Usually centered around conversation or media viewing.
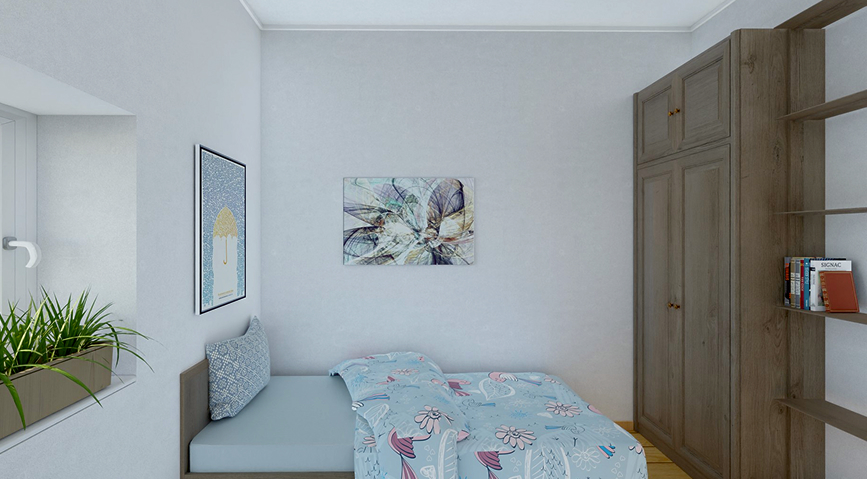
- Bedrooms: Focused on rest and storage.
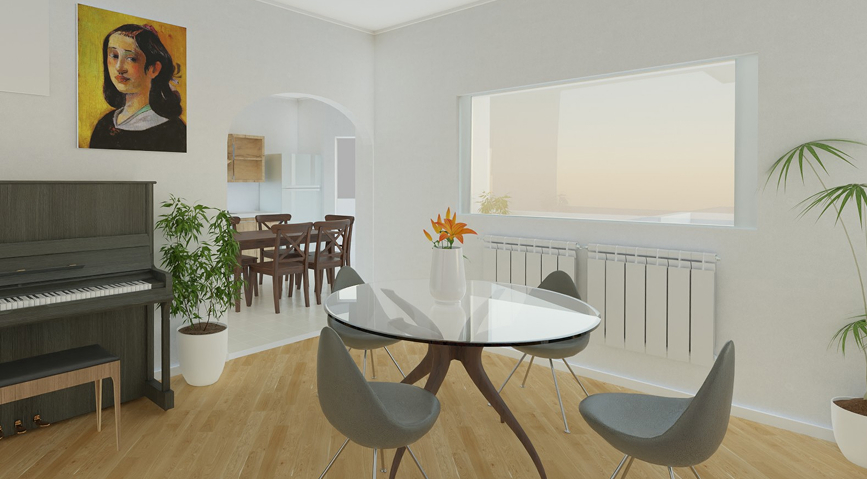
- Dining Rooms: Centered on the table and guest movement.
Identifying the "anchor" activity helps you decide which piece of furniture deserves the most prominent position.
Step 3: Apply Design Proportions
This is where you apply the technical rules we've discussed previously:
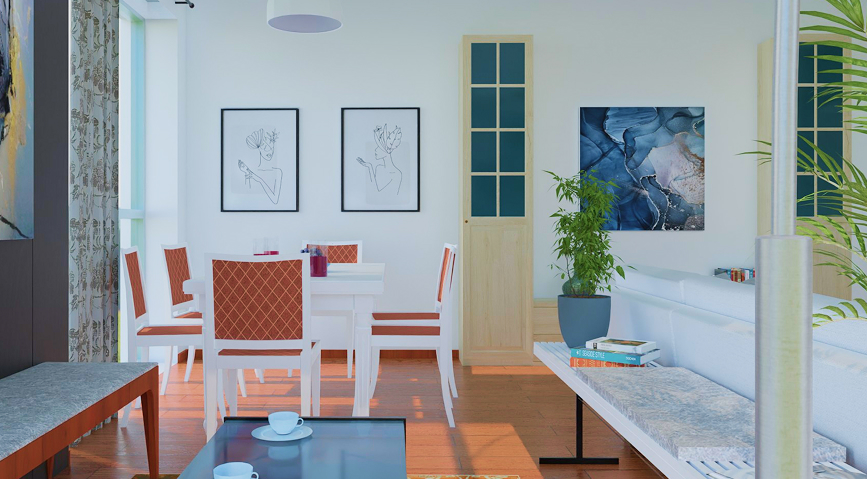
- The 60/40 Rule: Ensure that roughly 60% of the floor space is occupied by furniture and 40% remains clear as "breathing room" for pathways and airiness.
- Traffic Flow: Ensure there is a clear path (at least 90cm wide) for moving through the room. Avoid "obstacle courses" where people have to squeeze past furniture.
- Focal Points: Orient your layout toward a natural focal point, such as a large window, a fireplace, or a gallery wall.
Step 4: Zone the Space
If you are working with an open-plan area or a large multifunctional room, use zoning to create "rooms within rooms." You can define zones using:
- Rug Placement: A large rug acts as a visual anchor for a seating group.
- Furniture Orientation: Turning the back of a sofa toward a dining area naturally divides the space.
- Lighting: Use different light sources (pendant lights vs. floor lamps) to highlight different functional areas.
Step 5: Visualize in 3D
Seeing a layout on paper (2D) is helpful, but it doesn't give you the full sense of volume and scale. A piece of furniture may fit on the floor but feel too tall or bulky once placed in the room. This is why 3D modeling is essential for modern design.
Design Your Perfect Layout with Roomtodo
Moving heavy furniture around a room to "see how it looks" is exhausting and inefficient. Roomtodo allows you to do the heavy lifting digitally, ensuring your layout is perfect before you ever pick up a rug or a wrench.
Our 3D room layout planner simplifies the layout process:
- Draw Walls with Precision: Quickly recreate your room's exact dimensions.
- Drag-and-Drop Library: Experiment with hundreds of furniture items to see how they impact your 40% negative space.
- First-Person Walkthrough: Use our "Walk" mode to virtually step inside your layout and experience the traffic flow for yourself.
- Instant Style Changes: Swap out floor materials and wall colors to see how they change the perceived size of your layout.
Ready to stop guessing and start designing?
Create Your Professional Room Layout for Free with Roomtodo!
