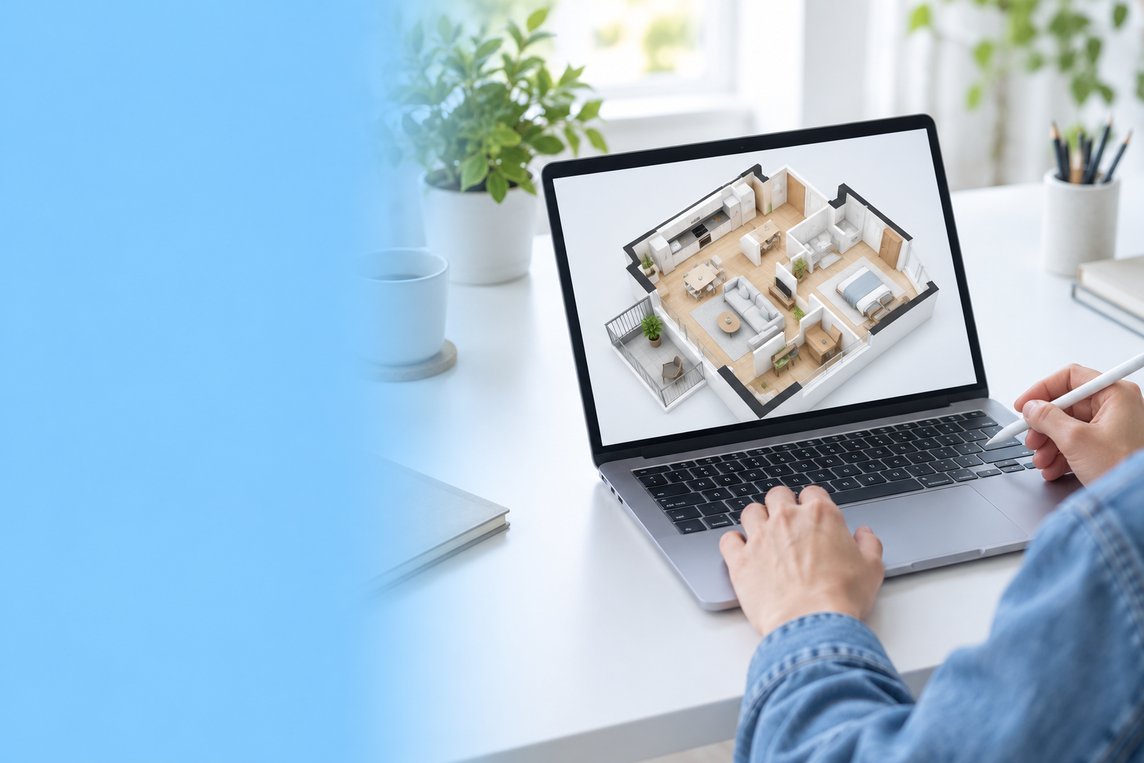
Planning a room, a renovation or a whole home raises the same questions again and again: how to measure, where to put furniture, which colours to choose and how to see the result before spending money. This page answers the most common ones in plain language. Each answer starts with the short version, followed by practical details.
Floor plans, measurements and choosing a tool.
Measure every room, then draw the walls to scale in floor plan software, add doors and windows, and label the rooms. You can do it in an hour or two for a typical apartment.
If you do not have time to draw it yourself, you can send a sketch or photo of an existing plan and order a ready floor plan from the Roomtodo team.
Measure each wall at about 1 m (3 ft) above the floor, check both diagonals, and record every opening from the nearest corner. Accurate measurements are the foundation of any plan, so it is worth taking 15 minutes per room.
Write measurements in one unit only (centimetres or inches) to avoid mix-ups.
Yes. Modern browser-based planners are built for homeowners, not only for architects.
In Roomtodo you draw walls on a 2D plan, drag furniture and materials from a catalogue, and the 3D model updates automatically. You can walk through the room, change colours in a click and take screenshots to compare ideas. Start with one room, then build out the rest of the home once you are comfortable.
Look for a tool that works with real dimensions, shows the same project in both 2D and 3D, and lets you share or export the result. The rest depends on how far you want to take your plan.
Roomtodo was built around these needs, and you can try it free with up to three projects.
Floor plans use a simple set of conventions: thick lines are walls, gaps with an arc are doors, thin parallel lines inside a wall are windows, and lines with arrows or ticks show dimensions.
For a rectangular room, multiply length by width: a 4 × 3.5 m room is 14 m². For an L-shaped or irregular room, split the floor into rectangles, calculate each one and add them up.
Roomtodo calculates the area of each room automatically as you draw the walls, so you do not need to do the maths yourself, and the figures help when you estimate flooring, paint and other materials.
Export, sharing, business use and ready-made plans.
Roomtodo supports export to PDF for 2D plans and to DXF, OBJ, FBX, GLB, DAE, BLEND and IFC for 3D models. This covers the most common workflows:
| Format | Typical use |
|---|---|
| Printing and sharing 2D plans | |
| DXF | AutoCAD and other CAD software |
| IFC | Revit, ArchiCAD and other BIM tools |
| OBJ, FBX, DAE | SketchUp, 3ds Max and other 3D software |
| BLEND | Blender |
| GLB | Web, AR and game engines |
PRO users can also import GLB models into their projects.
Yes. Furniture retailers, kitchen and cabinet makers, developers, gym equipment suppliers and stand builders use Roomtodo as a white-label planner with their own branding and product catalogue.
It can be embedded on your website via iframe and connected to your systems through API. Contact the Roomtodo team to discuss your case.
Yes. Roomtodo offers special options for students, teachers and educational institutions.
Contact our support team to find out which option suits you.
Yes. If you do not want to draw the plan yourself, the Roomtodo team can create it for you, usually within 24 hours after payment.
The price depends on the floor area and on whether furniture is included. See the floor plan service page for current prices.
Free plan, subscriptions and what happens to your projects. Current prices are on the Pricing page.
Yes, you can start for free: the free plan lets you create and keep up to three projects with 2D planning and 3D viewing.
Paid plans add more simultaneous projects, PDF export, advanced export formats and high-quality renders. Professional features are also available for a single project with a one-time payment. See the Pricing page for current plans.
Yes, you can change your plan in your account settings.
Yes, at any time in your account settings. The subscription stays active until the end of the paid period and then stops.
To avoid automatic renewal, cancel at least 24 hours before the renewal date.
All projects created during the subscription stay in your account, together with the products you added to them.
Advanced features stop working, and the standard features of the free plan remain available.
Yes, once your current billing period ends. For example, if you pay monthly, you can switch to annual billing when the current month is over.
Annual billing costs 50% less than paying month by month.
All your projects are kept and stay editable.
If you have more projects than the new plan allows, you will not be able to create new ones until you are within the limit.
Arranging furniture, clearances and making rooms work.
Decide what the room is mainly for, choose one focal point, place the largest piece first, and plan clear paths around it. Everything else follows from these four steps.
Before moving anything, try two or three layouts in a room planner; it takes minutes and saves your back.
The key numbers are about 90 cm (36 in) for main walkways and 40–45 cm (16–18 in) between a sofa and a coffee table. These common guidelines keep a room comfortable to use:
| Where | Recommended clearance |
|---|---|
| Main walkway through a room | 90–100 cm (36–40 in) |
| Secondary path | 60–75 cm (24–30 in) |
| Sofa to coffee table | 40–45 cm (16–18 in) |
| Sofa to TV | about 1.5–2.5 × the screen diagonal |
| Seats in a conversation group | within 2.5–3 m (8–10 ft) of each other |
| Dining table edge to wall or furniture | 90 cm (36 in); 110 cm (44 in) to walk behind seated guests |
| Beside a bed | 60–75 cm (24–30 in) |
| At the foot of a bed | 60–90 cm (24–36 in) |
| In front of a wardrobe or dresser | 90 cm (36 in) |
| Behind a desk chair | 90 cm (36 in) |
Spaces for specific rooms such as kitchens, bathrooms, garages and gyms are covered on the relevant planner pages.
Use light colours, maximise daylight, choose fewer but well-scaled pieces of furniture, and keep the floor as visible as possible.
In a planner you can test several of these ideas in 3D before painting or buying.
Divide the space by function (cooking, dining, relaxing, working) and give each zone its own anchor, lighting and flooring cue, while keeping clear routes between them.
In a living room, choose a rug large enough for at least the front legs of the sofa and armchairs to sit on it; in most rooms that means 160 × 230 cm (5 × 8 ft) or 200 × 300 cm (8 × 10 ft). A rug that is too small is the most common mistake: it makes the whole room look smaller.
Drawing the rug as a simple rectangle on your floor plan is the quickest way to check the size before buying.
Hang art so its centre is about 145–152 cm (57–60 in) above the floor, which is close to average eye level. A TV works best with its centre at seated eye level, about 100–110 cm (40–43 in) above the floor in a living room.
Interior styles, palettes, finishes and lighting.
Collect 20–30 images of rooms you like, look for what they have in common, and match that to how you actually live. The style should suit your home's architecture, your budget and your routine, not just a trend.
A few popular styles and what defines them:
You do not need to follow one style strictly. Most homes work best with a clear base style plus a few personal pieces. Recreating a room in 3D and trying two styles side by side is a quick way to decide.
Start from what will not change (flooring, kitchen fronts, large furniture), check how much daylight the room gets, and build a palette of one dominant colour, one secondary colour and one accent.
Changing wall colours in a 3D model is a free way to narrow the choice before buying sample pots.
Plan three layers: general (ambient) light for the whole room, task light where you read, cook or work, and accent light to highlight features. One ceiling fixture is rarely enough.
Use matt or flat paint for ceilings and low-traffic walls, eggshell for living rooms and bedrooms, and satin or a washable finish for kitchens, bathrooms, hallways and children's rooms. The shinier the finish, the easier it is to clean, but the more it shows uneven walls.
In bathrooms and kitchens, choose a paint labelled as moisture- or mould-resistant.
Choose two or three main materials, repeat each of them at least twice in the room, and balance hard surfaces with soft ones. This keeps the room varied without looking random.
Match the flooring to how each room is used: durable, water-resistant floors for kitchens, bathrooms and hallways, and warmer, softer floors for living rooms and bedrooms.
Order of work, quantities, budgets and contractors.
Create an accurate floor plan, decide the layout and fixed elements first, then test finishes and furniture in 3D, and only then build your shopping list and budget. Buying in this order avoids the most expensive mistakes: items that do not fit and sockets or pipes in the wrong place.
For one room, a cosmetic refresh or a simple layout, most people can plan it themselves with a good planner and some research.
An interior designer or architect is worth it when you move walls or services, renovate a whole home, work with a large budget, or need someone to manage contractors. A middle option is to prepare your own plan and pay a designer for a few hours of consultation to review it.
Work from the plan to the structure, then to hidden services, then to surfaces, and finish with furniture. Doing jobs in the wrong order is one of the most common reasons for damaged finishes and extra costs.
Calculate the area of each surface from your plan, then add a waste allowance. Roomtodo calculates the floor area of each room automatically, so you can take the figures straight from your project.
Buying everything from one batch at once avoids colour differences between deliveries. Keep a few spare tiles or boards after the job; they make future repairs much easier.
Define the scope first, get several quotes for the same specification, and add a contingency reserve of 10–20% for surprises. Older buildings usually need the higher end of that range.
A detailed plan with dimensions reduces guesswork in quotes and makes your budget more accurate.
Room-specific sizes, layouts and tips on each planner page.
Start planning for free, or order a ready-made floor plan from our team.